Surely, you’ve heard of contouring before. Learn how to do our version with two tones of foundation, some bronzer and a little setting powder!
By Erin Gignac
Big events call for makeup and hair that last the whole day (and night). Contouring is great for those days when you want to be picture ready, Instagram famous or stand out from the pack.
A technique straight from the professionals, contouring is used at runway shows and photo shoots to highlight the bone structure of the model’s face. The key is to make the shading look natural. The amount of shade or contouring you’ll need will differ with the structure of your face or skin color. Now, let’s get gorgeous!
You’ll need tools before you start; two different shades of foundation and a few specialty brushes. To get the darker shade, you’ll need a cream foundation that’s about two shades darker than the shade of your skin. You’ll also need a cream concealer or foundation that’s one shade lighter.
The brushes you grab are important, too. Use a foundation brush for the first steps and a blush or contour brush to blend the shades together at the end.
First, apply your normal foundation over your entire face to get a blank canvas ready for contouring. There, that looks better!
1. Now you can start the process. Dip your foundation brush into the lighter foundation or concealer and draw the letter C on your face. Start in the middle of your forehead, go down the bridge of your nose, highlighting all along the top of the cheekbones and under your eyes to the temple.
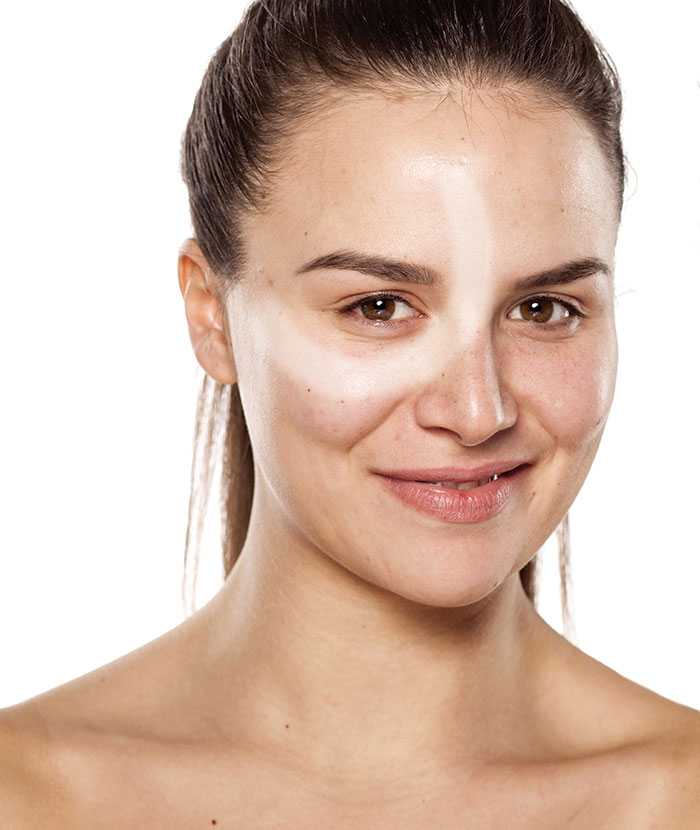
For the finishing touches on this step, swipe the concealer or foundation just above your jawline, on your chin and under the eyebrows. Repeat steps on the other side of your face.
2. Time for the darker foundation. Apply the cream at the top of your hairline (widow’s peak) and follow the hairline down to your temple.
Suck in your cheeks to see the outline of your cheekbones and trace the foundation underneath that bone. It should look like you’re drawing the letter E on the side of your face with the darker shade.
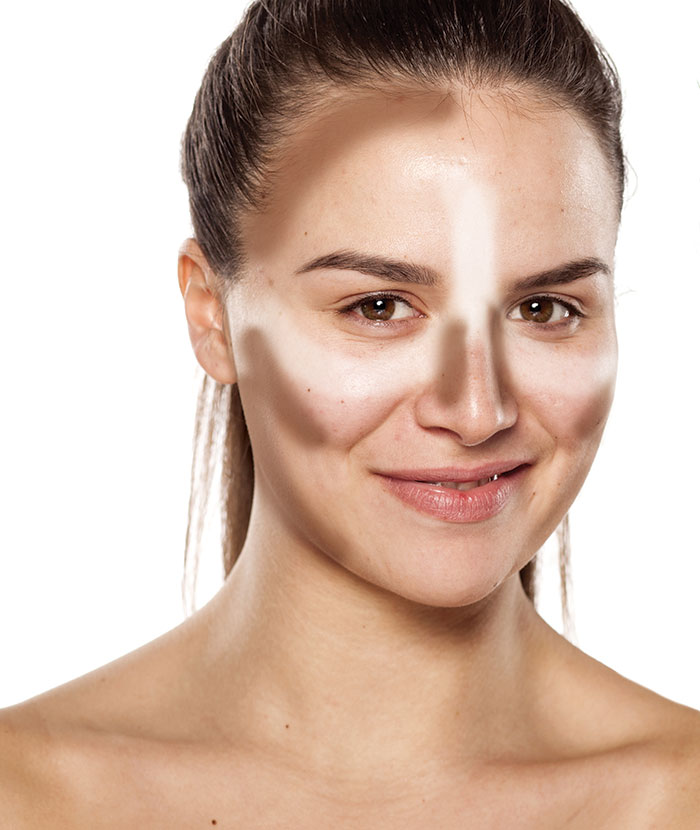
Draw the last line of the letter E by going from your ear and tracing the bronzer along your jawline. Add some darker foundation on the sides of your nose. Repeat these steps on other side!
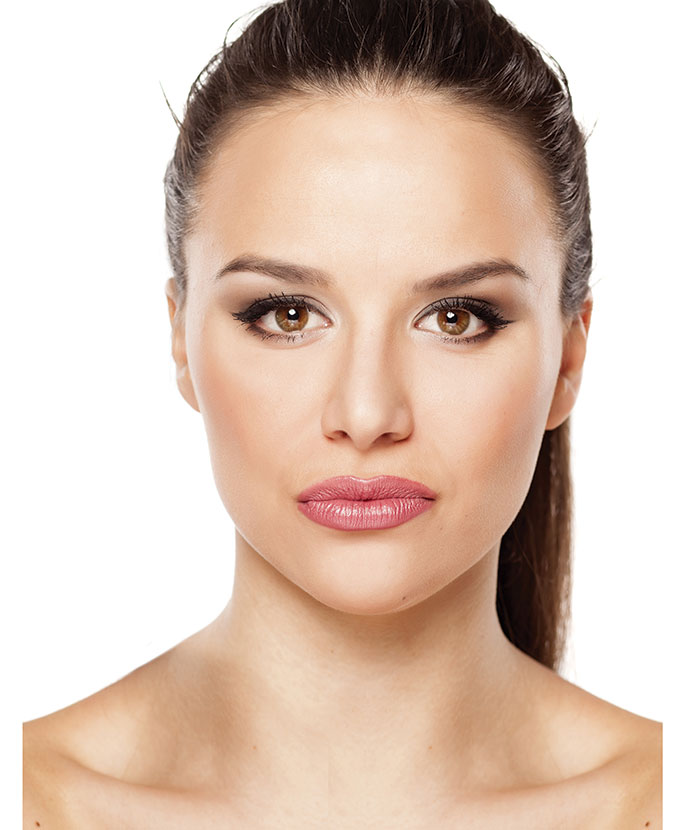
3. Now, this is when the magic happens. Use your blush or contouring brush to blend these areas together. Blending is very important—make sure you buff until your face looks natural.

4. For some serious staying power, brush your whole face with translucent powder to set the style. This will keep your skin from getting too dry or oily. Apply mascara, blush, a natural lip and a smile!
 Erin Gignac covers stories for Paramount Beauty. Follow her on Twitter and view more of her work here.